Choosing the Right Fixings for Your Number Plate Mount
When you fit a number plate to a vehicle, the fixings you choose matter as much as the plate itself. A plate that is poorly secured can rattle, shift, or even detach while driving, which is both a legal concern and a practical annoyance. The right fixings ensure the plate stays put, remains legible, and meets the requirements for a DVLA-compliant installation. This article explains which fixings work best for different types of number plate mounts, so you can make an informed choice.
Understanding the Mounting Options
Number plates are typically attached to a vehicle in one of several ways. The most common method uses screws that pass through the plate's mounting holes and into the vehicle's bumper or a dedicated mounting bracket. Some plates come with pre-drilled holes, while others require you to mark and drill your own. The type of mount you have will determine what kind of fixings are suitable.
Direct-to-Bumper Fixings
If your plate attaches directly to the vehicle's bumper, you will need screws that can grip the material underneath. Plastic bumpers are common on modern cars, and self-tapping screws designed for plastic work well here. These screws have a sharp point that cuts into the plastic as you turn them, creating their own thread. They often come with a hex or Phillips head for easy driving with a screwdriver or bit.
For metal bumpers, such as those found on some older vehicles or commercial vans, you may need screws that can cut into steel or aluminium. Self-tapping screws for metal are usually made from hardened steel and have a different thread geometry. In either case, the screw length should be enough to pass through the plate, any backing material, and at least a few millimetres into the bumper without protruding inside the vehicle. A typical length is around 12 to 16 mm, but check the thickness of your bumper before buying.
Mounting Brackets and Adapters
Many vehicles use a plastic mounting bracket that clips or screws onto the bumper first. The number plate then attaches to this bracket. Brackets often have built-in threaded inserts or slots that accept standard screws. Here, you will want screws that match the thread of the inserts. If the bracket uses a coarse thread, a standard self-tapping screw might not hold well. In that case, machine screws or bolts with a matching thread pitch are better. Some brackets come with their own fixings, but if you are replacing lost or damaged ones, note the thread size and length.

Adhesive mounting is another option. High-bond adhesive pads or strips can hold a plate securely without drilling. This method is popular on vehicles where you want to avoid making holes in the bumper, such as leased cars or classic vehicles. The adhesive must be strong enough to withstand weather, vibration, and car washes. Automotive-grade double-sided tape is the usual choice. It works best on clean, smooth surfaces. For textured bumpers, adhesion may be weaker, so screws remain the more reliable option.
Key Considerations for Fixing Selection
The correct fixing depends on several factors beyond just the mount type. The plate itself matters. Thicker plates, such as those made from acrylic rather than thin plastic, may require longer screws or slightly different pilot holes. The position of the mounting holes on the plate also affects alignment. Some plates have slots instead of round holes, which allow for some adjustment.
The vehicle's bumper shape and material are critical. Curved bumpers may need a flexible mounting bracket or a plate that is pre-curved to match. Fixings on a curved surface can be harder to align, so a bracket that holds the plate in a fixed position simplifies the job. For flat bumpers, direct screw mounting is straightforward.
Environmental conditions also matter. In the UK, plates face rain, road salt, and temperature changes. Screws made from stainless steel or coated with a rust-resistant finish last longer than basic steel screws. The same applies to adhesive pads: look for those rated for outdoor use and high temperature tolerance.
Screw Caps and Finishing
Once the screws are in, the visible heads can be covered with screw caps. These small plastic covers snap over the screw head and match the plate's colour or provide a neat finish. They also protect the screw from corrosion and stop it from snagging on clothing or car washes. Caps are available in various sizes to fit different screw head diameters. If you use countersunk screws, the cap sits flush with the plate surface. For dome-head screws, the cap may protrude slightly. Choose caps that are UV-stable so they do not fade or crack in sunlight.
Common Pitfalls and How to Avoid Them
A frequent mistake is using screws that are too long. A screw that protrudes beyond the bumper can scratch paint, damage interior trim, or even pierce a hidden component such as a wiring harness or coolant line. Always measure the depth available. If you are unsure, use a shorter screw and check that it still bites into the bumper material. A good rule is that the screw should engage at least 5 mm of the bumper material but not go deeper than 10 mm unless you know what is behind it.
Another problem is overtightening. Plastic threads can strip easily, especially in thin bumper plastic or in a bracket's inserts. Tighten until the plate feels secure, then stop. If you feel resistance increase sharply, back off half a turn. Using a screwdriver with a torque-limiting feature helps, but careful hand tightening works just as well.

Drilling pilot holes is recommended for most screw types. A pilot hole prevents the plastic from cracking and guides the screw straight. Use a drill bit slightly smaller than the screw's core diameter. For self-tapping screws, the pilot hole can be about the same diameter as the screw's inner shaft. If the plate has no pre-drilled holes, mark the positions carefully and drill from the front to the back. Deburr the hole edges with a file or reamer to avoid rough edges.
Adhesive pads can fail if the surface is not properly prepared. Wash the bumper with warm water and mild detergent, then wipe with a solvent like isopropyl alcohol to remove all wax and grease. Let it dry completely. Apply the pad and press firmly for at least 30 seconds. Some pads need 24 hours to reach full bond strength, so avoid washing the car or driving in heavy rain during that time.
When to Use a Number Plate Fitting Kit
For most private car owners, a simple set of screws and caps from a number plate fitting kit is the easiest solution. These kits contain everything you need: screws, caps, and sometimes adhesive pads or a small drill bit. They are designed to match typical plate dimensions and bumper materials found on UK vehicles. Using a kit removes the guesswork about thread size, length, and corrosion resistance.
If you are ordering a custom plate from a specialist supplier, it is worth checking whether they offer an appropriate fitting kit. The Number plate Builder service from numberplatemaker.uk, for example, lets you design a DVLA-compliant plate and includes options for mounting accessories that suit the plate you choose. This ensures the fixings match the plate's hole spacing and thickness.
For commercial vehicles or fleet applications, consistency matters. Using the same type of fixing across all vehicles simplifies maintenance and replacement. A standard fitting kit with stainless steel screws and colour-matched caps keeps the fleet looking uniform and reduces the chance of a plate falling off.
Specialist vehicles, such as trailers, motorbikes, or heavy goods vehicles, may have different mounting requirements. Trailer plates often attach to a flat metal bracket, so self-tapping screws for metal are suitable. Motorbike plates are smaller and may use a single central bolt or two screws into a plastic mudguard. Check the specific mounting points before buying fixings.
Final Practical Tips
Always keep a spare set of fixings in the vehicle. A lost screw on a bumpy road can be replaced quickly if you have a few spares. Store them in a small bag in the glovebox. If you regularly swap plates between vehicles, use a quick-release bracket system that uses spring clips or quarter-turn fasteners rather than screws. These are available from some accessory suppliers.
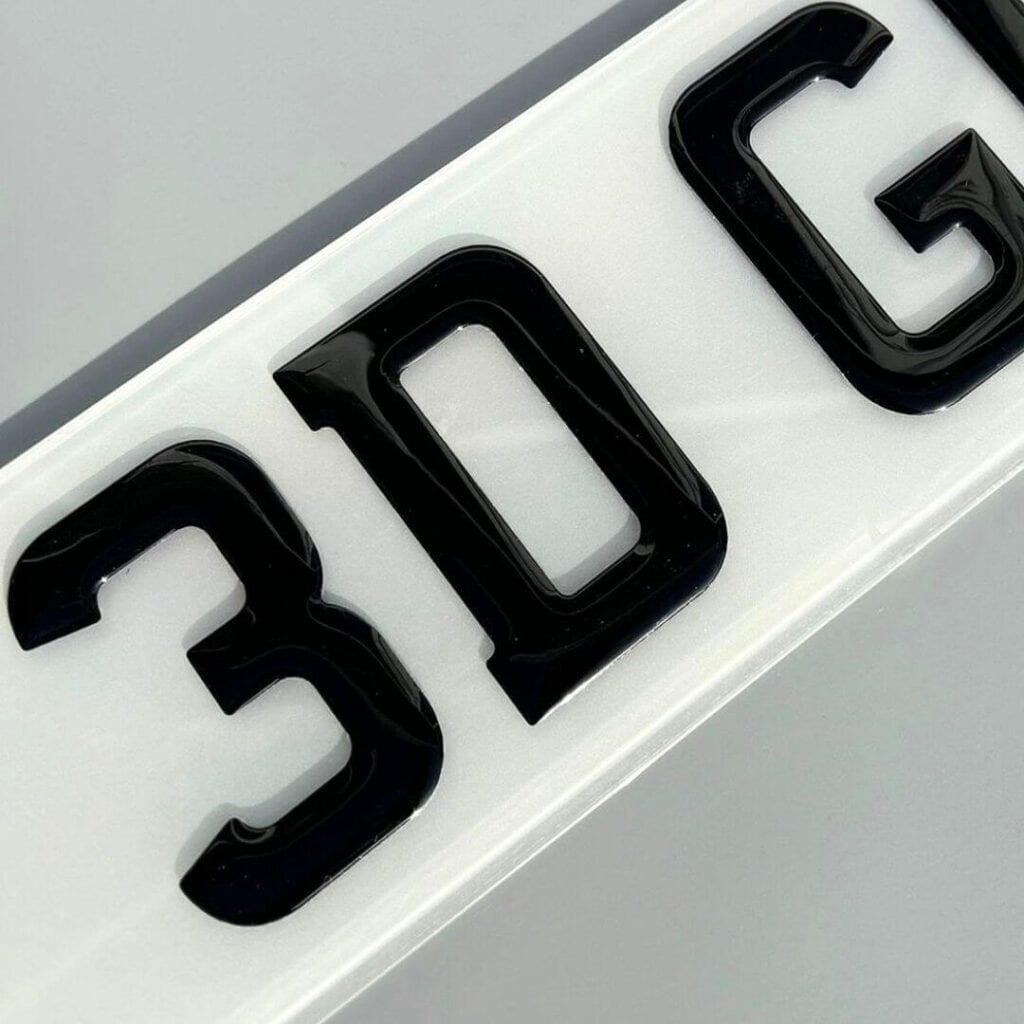
When you fit a new plate, test the security after a few days of driving. Vibration can loosen screws that were initially tight. A quick check with a screwdriver or a gentle tug on the plate will confirm it is still secure. If you used adhesive pads, inspect the edges for any lifting. Replacing a loose fixing early prevents the plate from vibrating against the bumper and causing paint damage.
For those who want a clean look without visible fixings, consider a mounting frame that covers the screw heads. These frames clip around the plate and hold it in place with hidden tabs. They often use the same screw points but hide them behind a plastic border. This can give a more finished appearance, especially on older vehicles where the bumper surface may be uneven.
Ultimately, the best fixing is the one that matches your vehicle's mount, the plate material, and your own comfort with the installation process. A well-chosen fixing keeps the plate secure, legal, and looking good for the life of the plate. The Number plate Builder can help you match the right accessories to your plate design, but the final choice rests on the physical fit and conditions of your vehicle.
Ends · ROADREADYPLATES